Palm trees are a popular subject for artists and illustrators because they are both beautiful and versatile. In this tutorial, we will show you how to draw a palm tree step by step.
First, sketch the basic outline of the tree using circles. Next, add in some lines to define the branches and leaves. Finally, add in the highlights and shadows to create the final look of your tree.
Please read on for more detailed information.
Table of Contents
How to Draw a Palm Tree?
Here is an easy step-by-step guide:
Define the Palm Tree Trunks
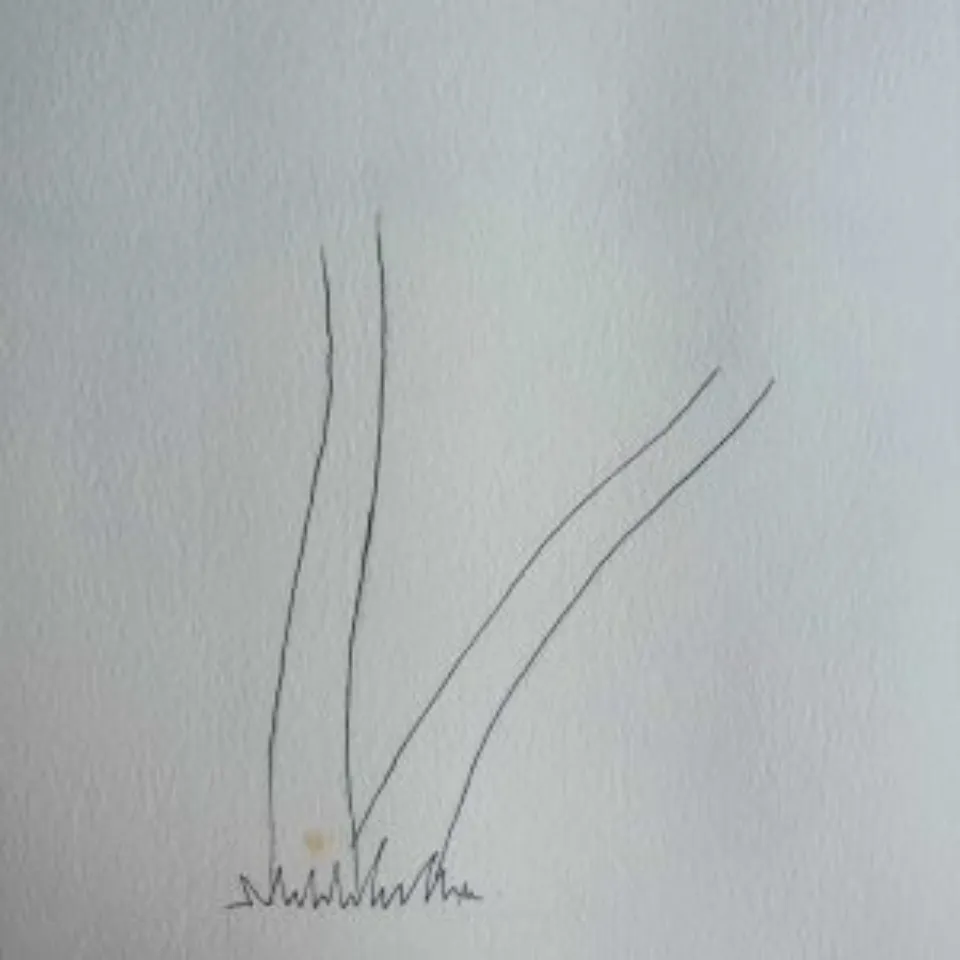
Create the trunks of the palm trees by drawing them with a permanent pen. Draw the first trunk vertically, followed by the second trunk cocked to the right. Grass is also depicted where the tree trunks protrude from the ground.
Palm Tree Leaves Center Vein
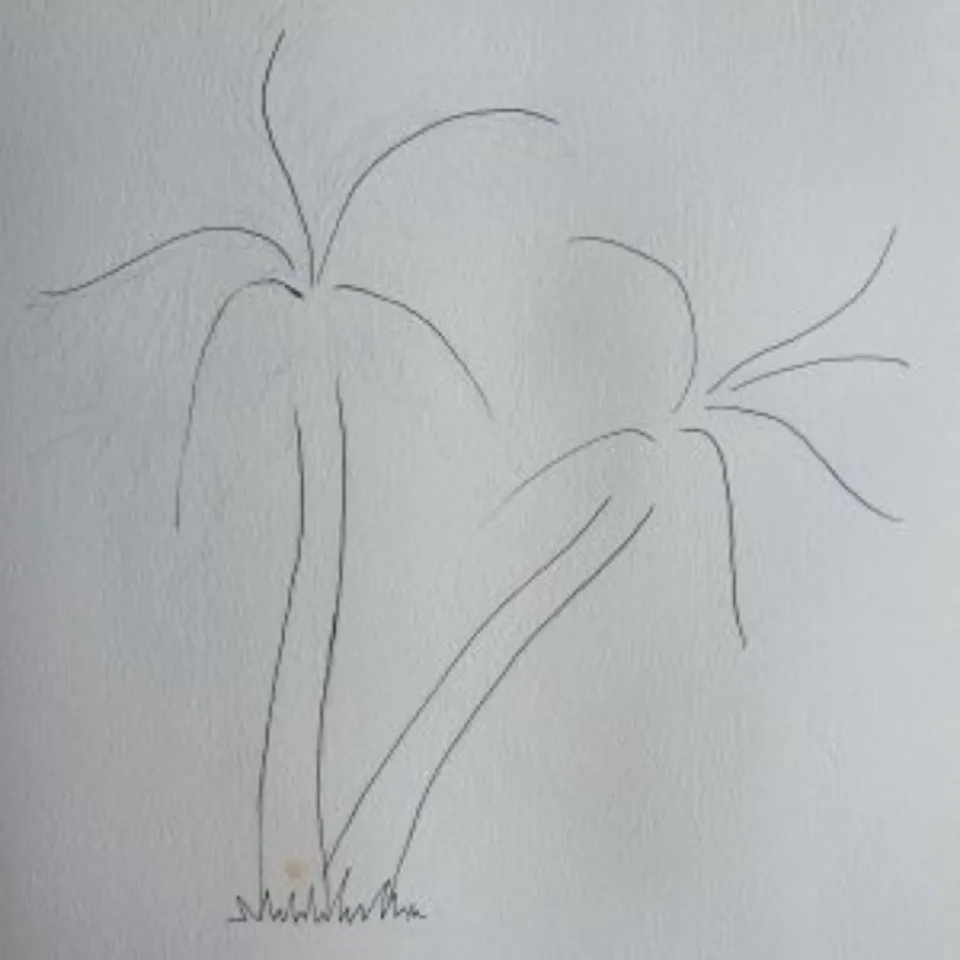
Draw a single line across each leaf of the palm tree where the vein would be. This helps to give us a starting point for defining the shape of the leaves.
Draw the Shape of the Palm Tree Leaves
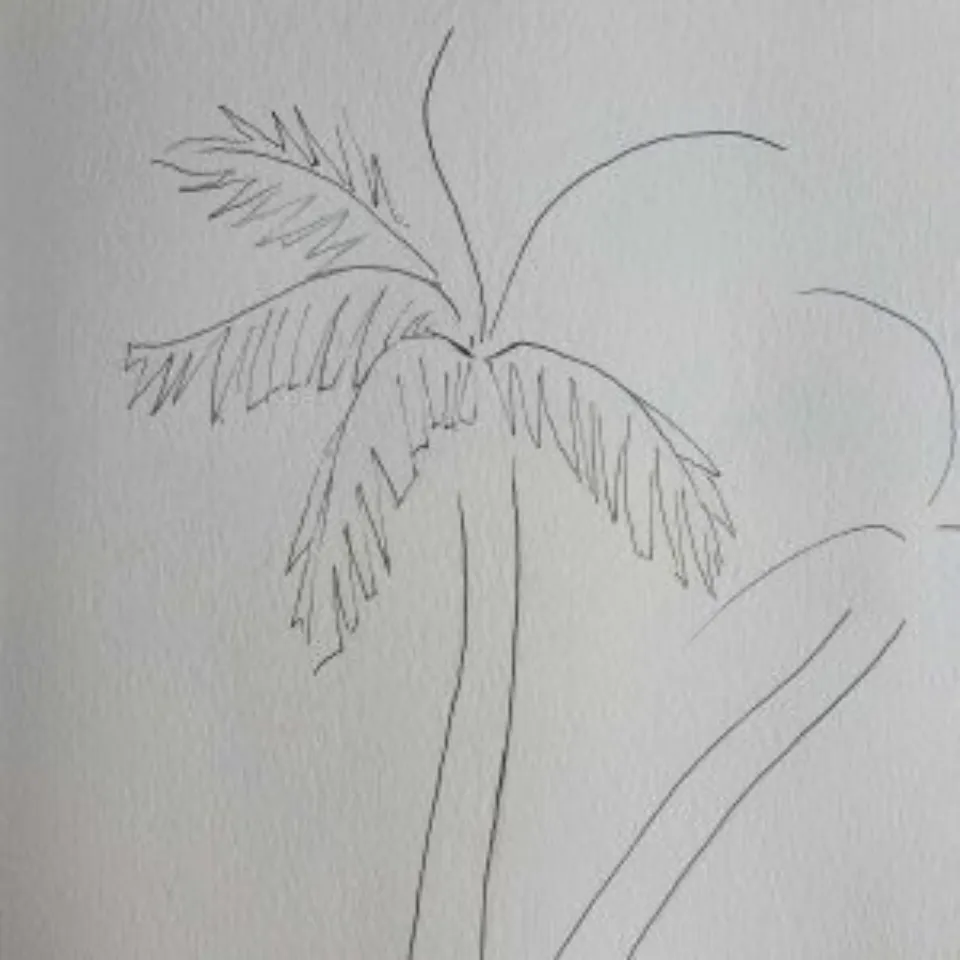
Draw in the shape of the leaves surrounding the inner palm tree vein as a starting point. You’ll notice that I’ve drawn groups of leaves rather than every single leaf on the larger leaf to create the appearance of a sizable palm tree leaf.
Continue the Palm Tree Leaves
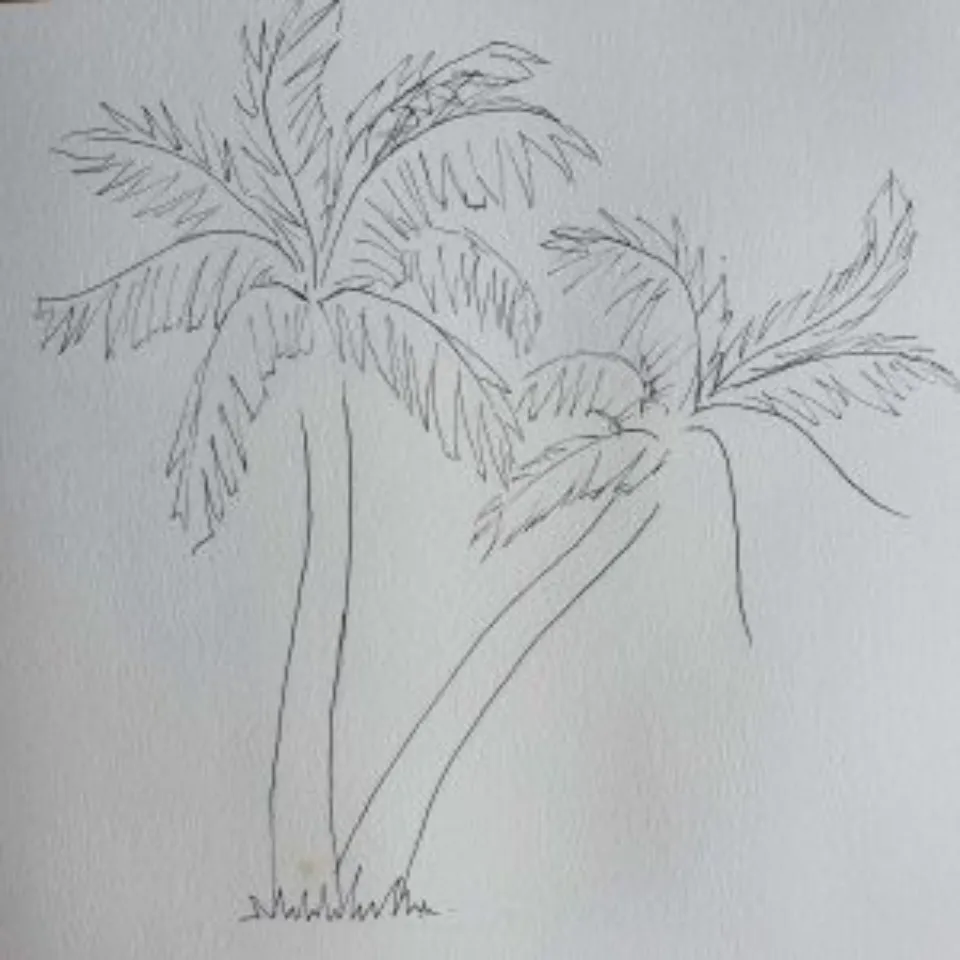
After finishing the first palm tree’s leaves, start tracing the second palm tree’s leaf shapes.
Complete the Palm Tree Leaves
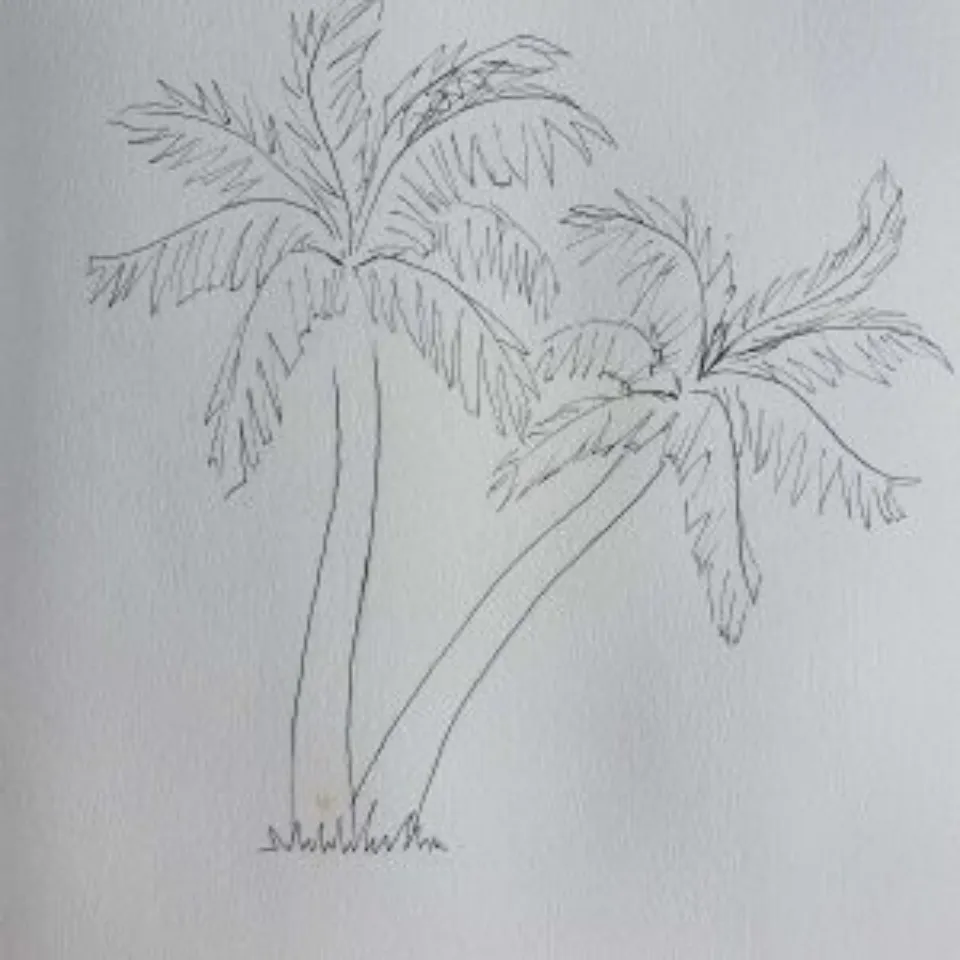
complete drawing the palm tree leaf shapes.
Begin Shading the Palm Tree Trunk
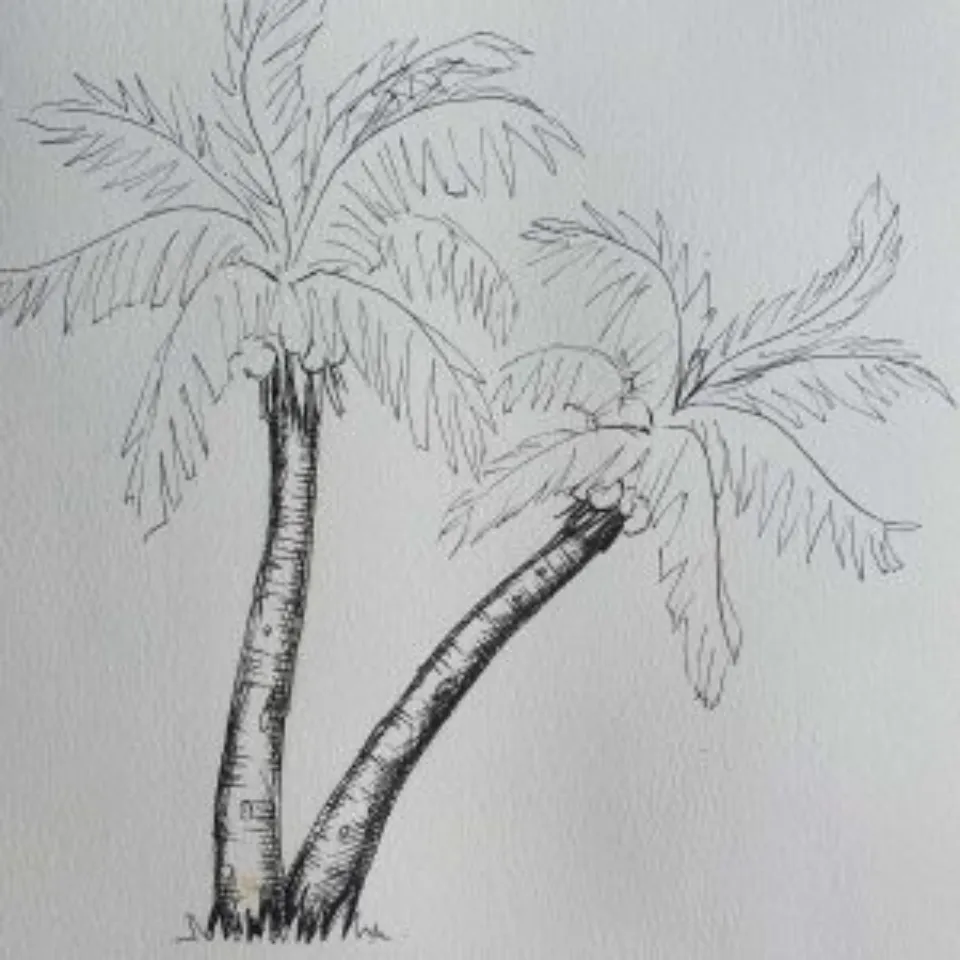
Start shading the trunk of the palm tree using hatching and cross-hatching to develop shadow areas.
Complete Shading the Palm Tree Trunk

Use cross-hatching and hatching to complete the shading of the palm tree trunk. To give the palm tree trunks more texture and interest, I also added a few tiny circular forms.
Begin Shading the Palm Tree Leaves
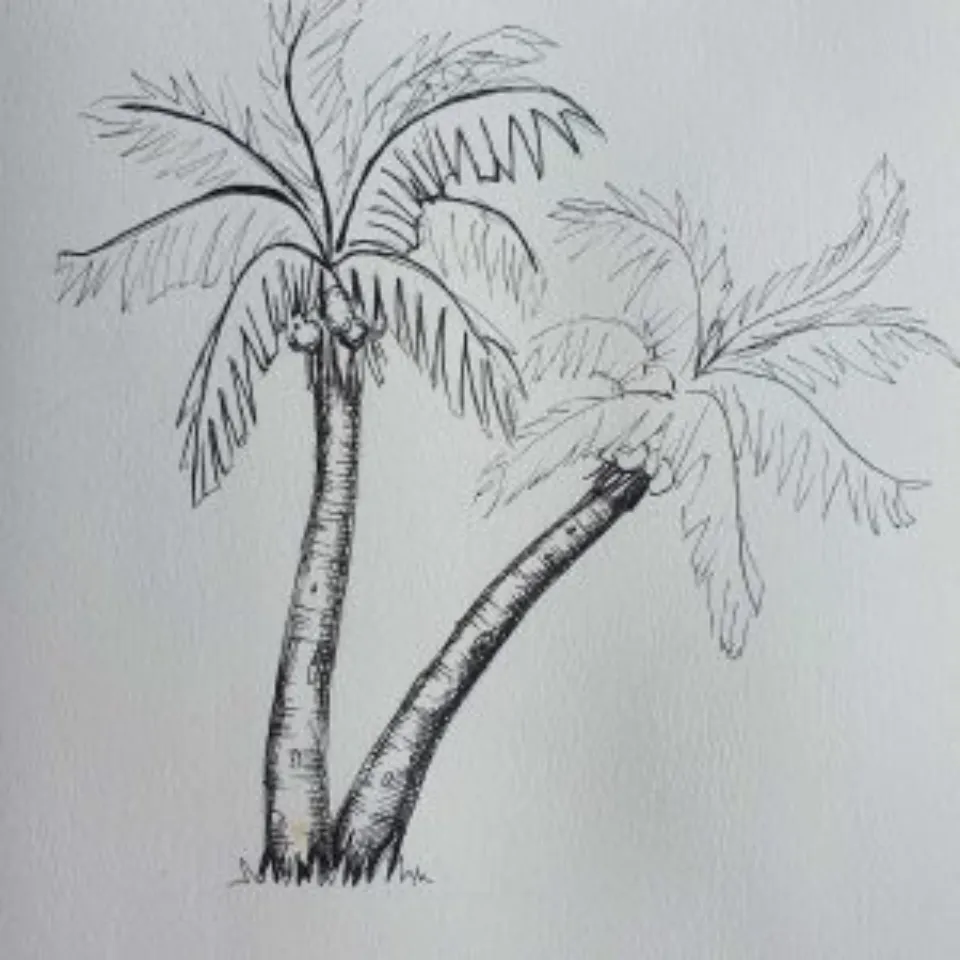
The palm tree leaves should first be shaded.
Complete the First Palm Tree
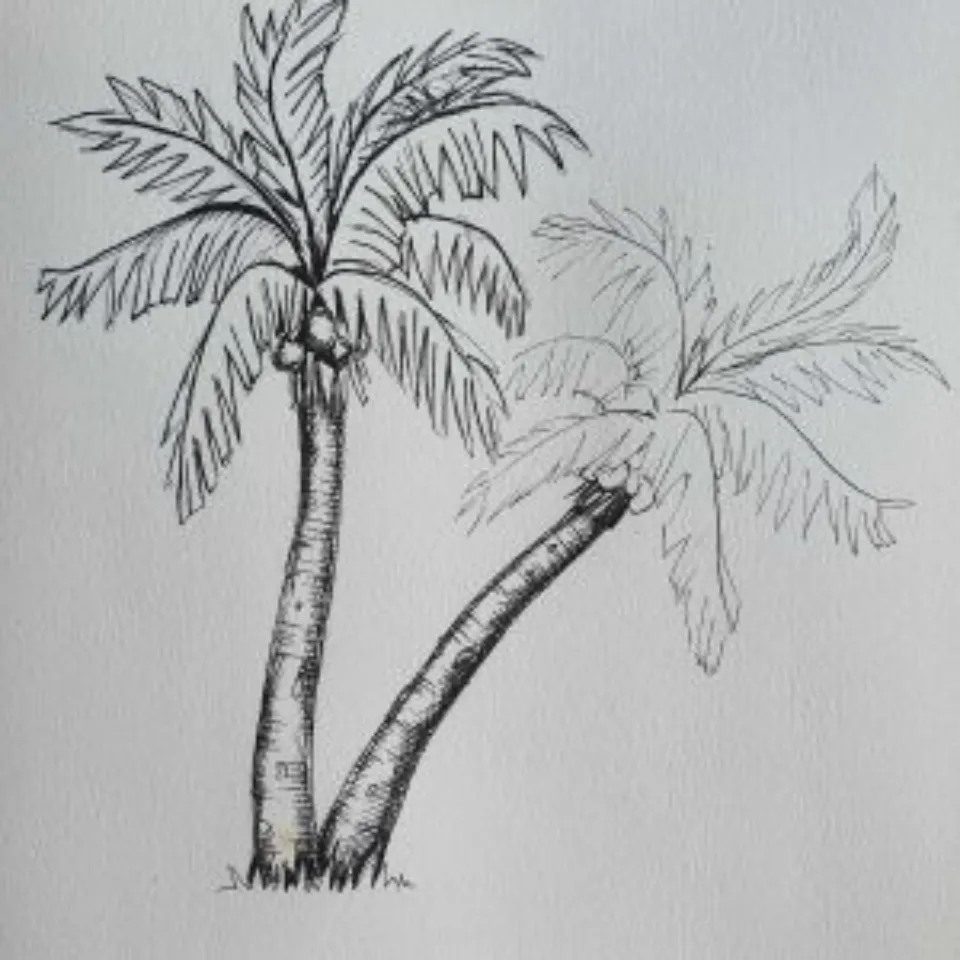
Beginning with the second palm tree’s leaves, complete shading the first palm tree’s leaves.
Complete the Second Palm Tree
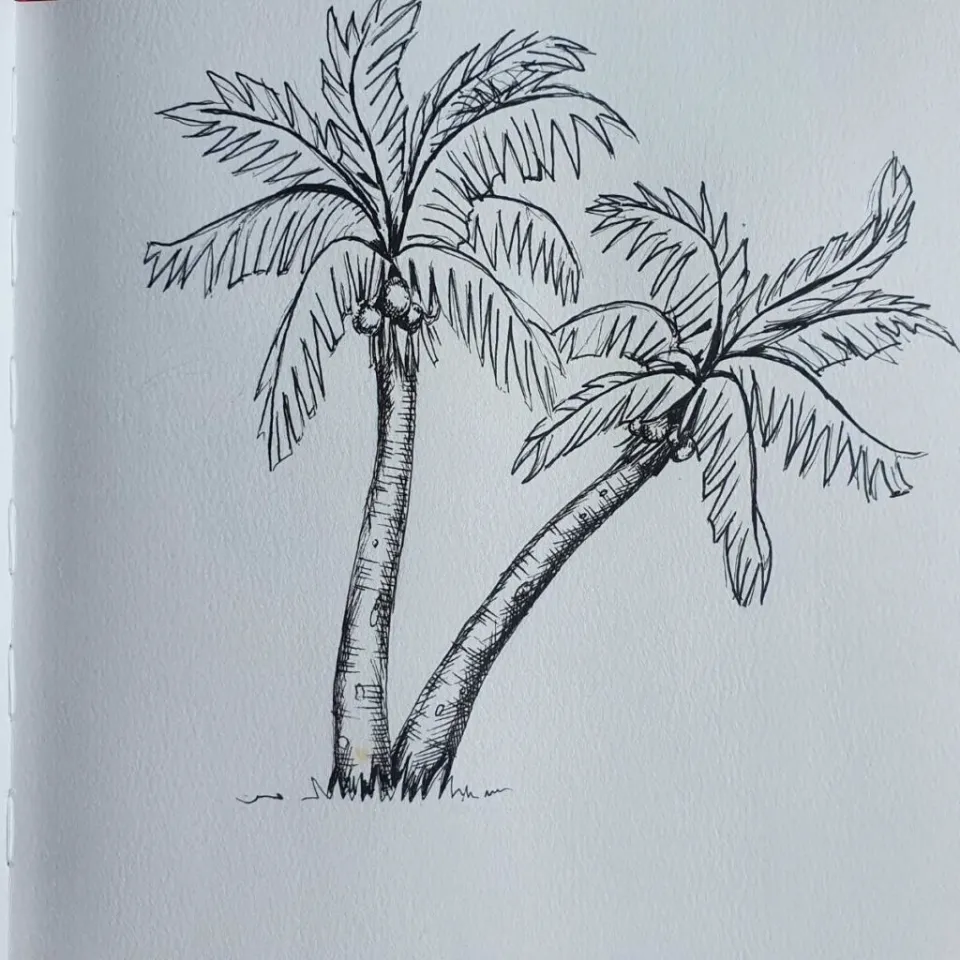
On the second palm tree, complete shading its leaves.
Turn Your Palm Tree Drawing into a Watercolor Palm Tree!
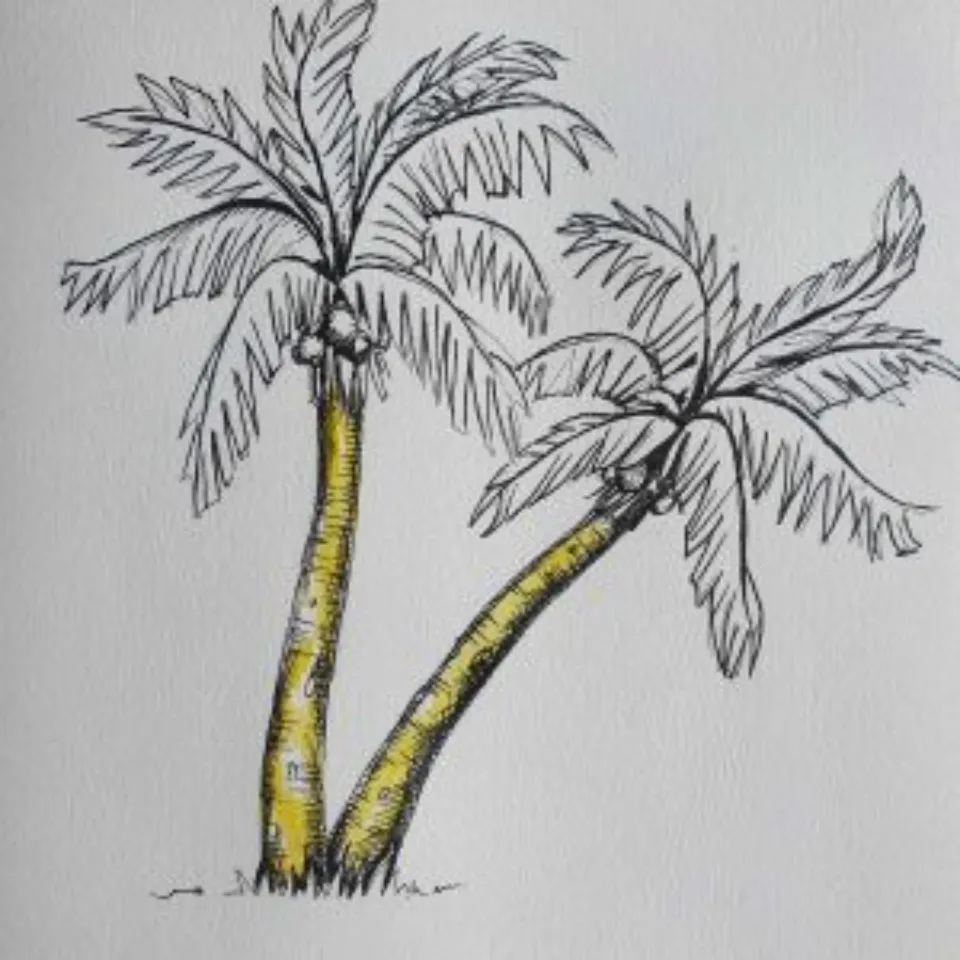
Wet-on-dry painting is the technique you’ll use when you first start using watercolors. In essence, you’re painting directly onto the dry surface of the page after putting paint on your paintbrush. You have more control over the colors you use here, so it’s a great place to start.
Wet-on-wet washing is a technique that you can use to blend your forms after you’ve defined them with your initial color.
Painting with watercolors while the surface is still wet is known as “wet-on-wet” technique. Intriguing color washes are produced as the color then blooms and bleeds.
I like watching the watercolor pigment dry because it creates lovely textures and patterns, even though it is less controllable than wet-on-dry.
I began by using a wash of Cadmium Yellow Hue to paint these watercolor palm trees.
Second Wash Layer on Palm Tree Trunks
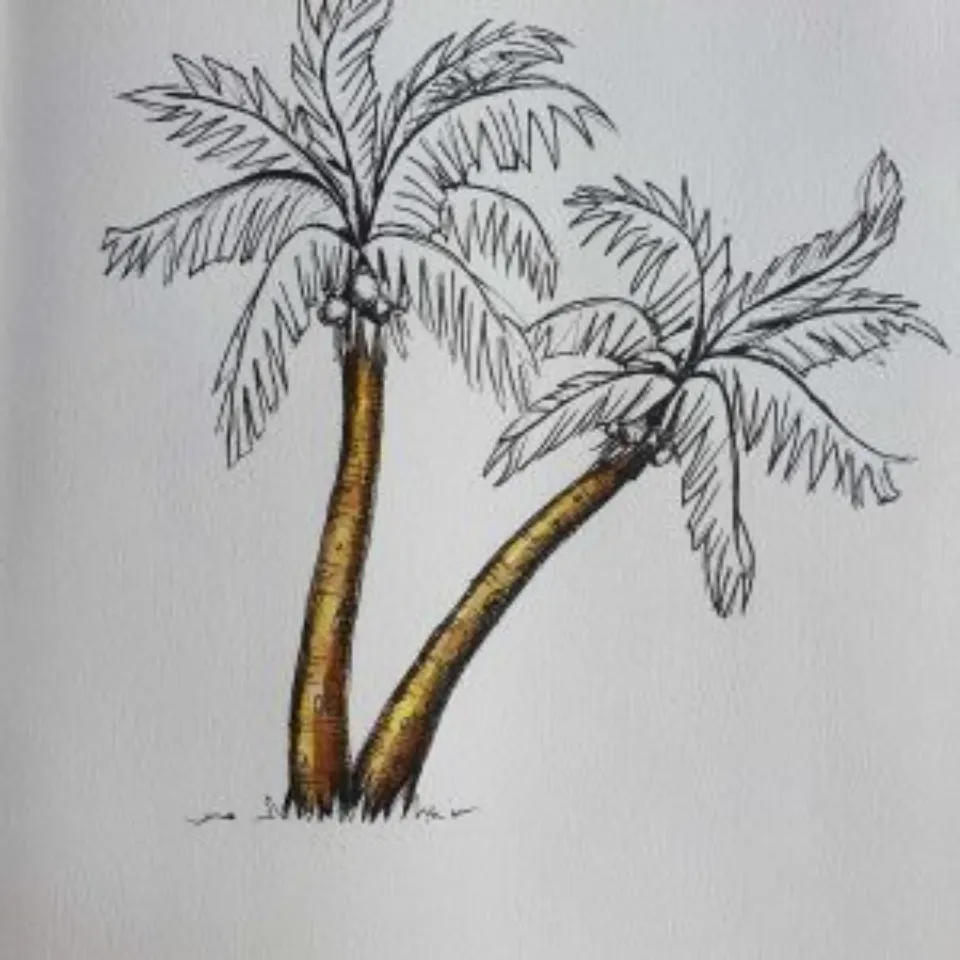
To add depth and shadow, paint a wash of Raw Umber over the Cadmium Yellow color. Paint more of the Raw Umber on the sides of the palm tree trunks.
First Watercolor Wash on Palm Tree Leaves
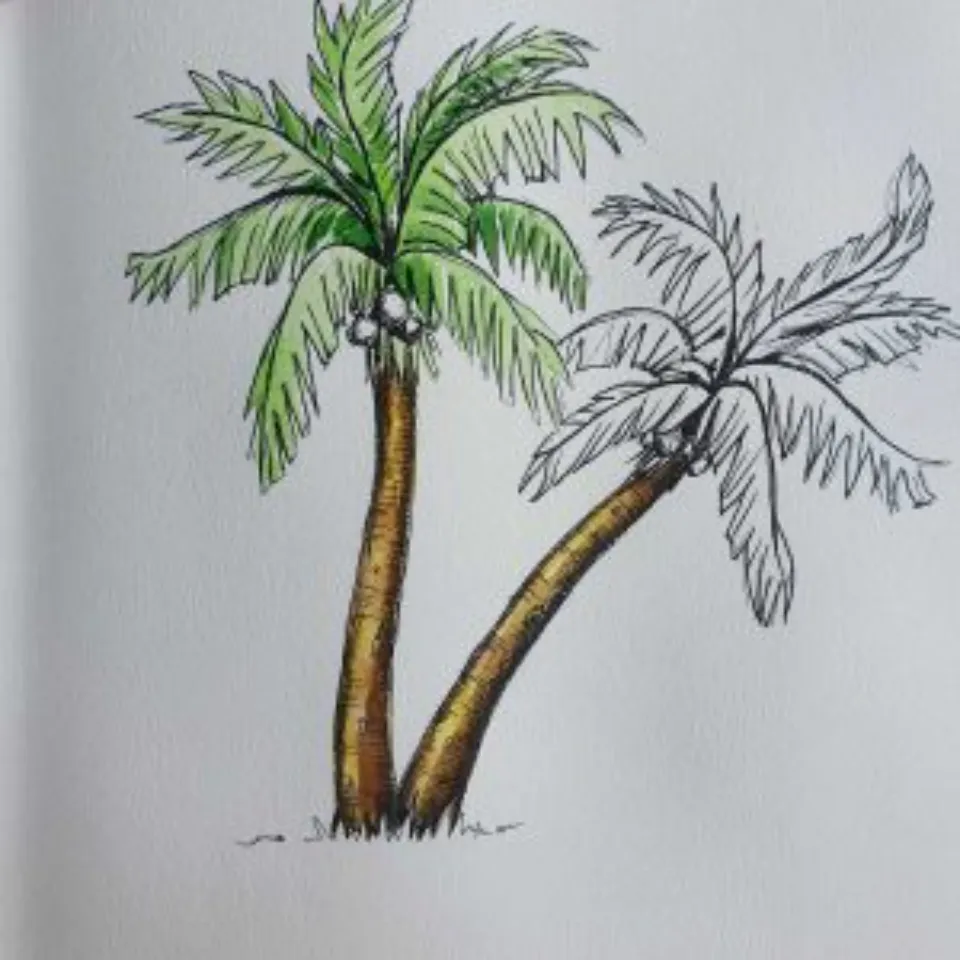
Over the palm tree leaves, apply a Viridian Green wash.
Paint Shadows into Palm Tree Leaves
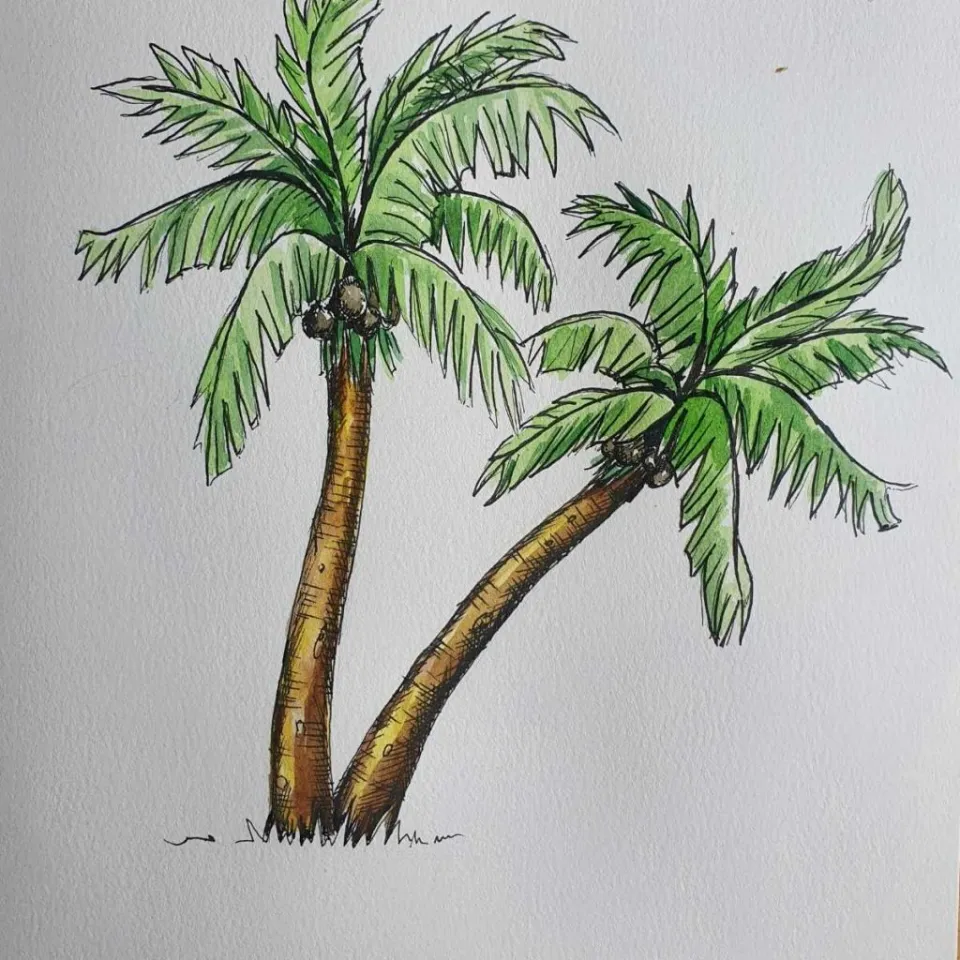
Paint Hookers Green washes into the palm tree leaves shadows. Avoid painting the center and tips of the palm tree leaves with Hookers Green in order to give them a more realistic and three-dimensional appearance.
Summary
Hey kids did you like this How to Draw a Palm Tree Guide? Practice it and you will see your drawing is improving in every attempt, also share your view in the comment box, and don’t forget to share this art with your friends on Social Media so they can also enjoy it.
If you have any questions, please leave a comment. Thank you for reading.


