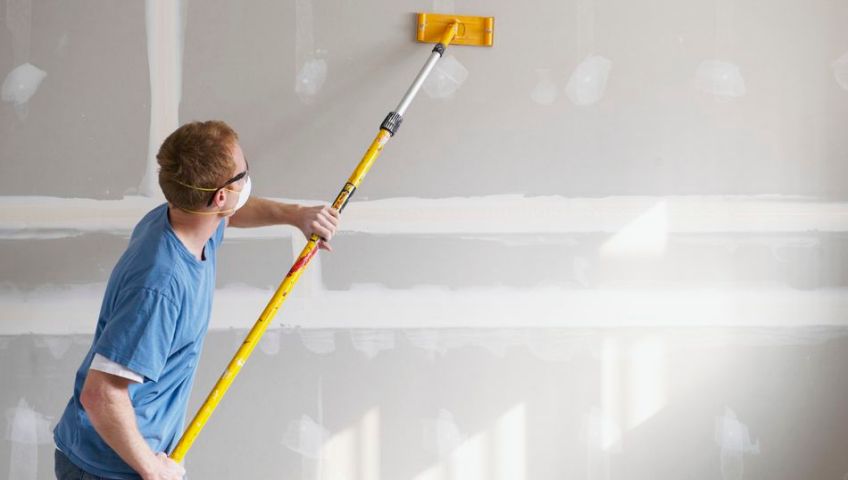
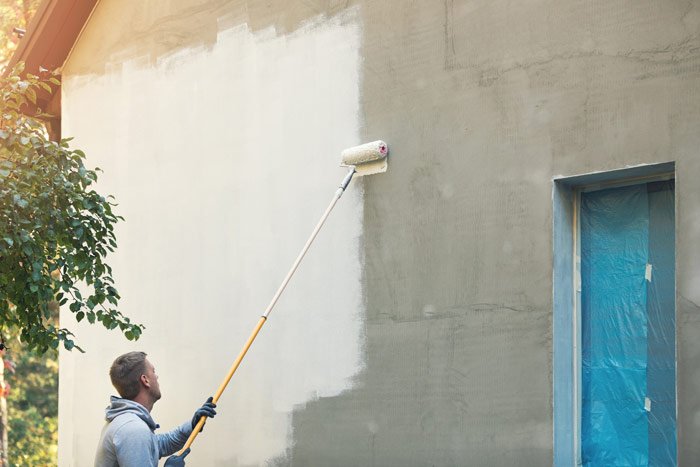
Primer is not supposed to look streaky or have visible drip lines. For your new paint to apply flawlessly, primer should be applied uniformly, even though it is not necessary to completely cover previous coats of paint.
As you go, reload your roller frequently to ensure that the surface is coated evenly. It might be necessary to use two coats of primer when painting dark colored stained walls.
Table of Contents
Is Primer Supposed to Look Streaky?
Primer shouldn’t appear streaky unless your primer coat application is imperfect, of course. Old paint is taken up by primer, which adheres to the surface like an adhesive. On the other hand, it is not intended to cover the surface itself in any way. Yes, if you purchase a low-quality primer, it will look terrible. To avoid this problem, people apply several coats of high-quality products.
Your topcoats will have a good bond to the surface if you correctly apply primer. This implies that they will look good and last for many years. You are merely wasting your time if your primer, however, appears streaky.
What Could Make Your Primer Look Streaky?
The most frequent cause of streaky primer is improper application. You might be applying it too thickly or not thinly enough, or you might be using a color that isn’t the right formula or type for the task at hand. In general, if your primer isn’t properly applied and mixed first, you’re going to have trouble getting a smooth look on your final coat.
Using improper painting methods is another factor that can cause your primer to look streaky. If you don’t use your roller carefully, your wall may develop bumps or paint blobs. If you’re not taping properly, you might also experience problems.
How Should Primer Look before Painting?
Prior to painting, the primer must be completely covered, leaving no open spaces. There shouldn’t be any blotches or lines to be seen.
The primer isn’t meant to be entirely transparent.
It’s okay if some of the earlier hues appear. All primer needs to do is adhere to paint for the older paint color to be automatically concealed.
After applying primer, the surface must be smooth. The consistency of the primer shouldn’t be excessively thin or thick.
In the event of an excessive thickness, a solvent must be added.
How to Make Sure That Your Primer Doesn’t Look Streaky?
You must look out for any areas where any patches are showing through the primer as you apply it. Never hesitate to add an additional layer of primer if you discover anything. Work on one small area at a time after placing your roller on the wall.
By doing this, the paint will be evenly distributed and flow smoothly up and down the walls. As a painter, you should spread the color rather than apply it. Sand the area after thick paint clumps are spread throughout your home before repainting.
It’s crucial to allow the primer to completely dry before applying the topcoat. If not, when your topcoat dries, there will be places where streaks are visible. Make sure you master the appropriate brush and roller techniques prior to beginning to paint. Make sure you master the appropriate brush and roller techniques prior to beginning to paint.
Make sure your rooms are adequately ventilated before applying the primer to prevent the problem of paint emitting toxic fumes. This will help to ensure that your primer isn’t streaky. To ensure that air can reach all corners, it’s also a good idea to apply a coat of primer in a slightly larger area than you need to.

Does Primer Need to Cover Old Paint?
Old paint does not have to be completely covered by primer for it to be effective. It’s not necessary to apply coats of primer until you achieve a white “blank canvas.” In order for the fresh paint to adhere and provide the best coverage, primer acts as a barrier. Even if you can still make out hints of the previous color through the primer, it is still working.
- To function properly, primer does not have to completely cover up the old paint.
- The new paint will adhere to the primer and offer good coverage even if you can still make out some of the old paint’s color through the primer.
- Apply a second coat of primer to darkly painted or stained walls to make sure the wall is adequately primed.
It’s still a good idea to apply a second coat of primer during difficult repainting projects, even though primer doesn’t need to turn a room completely white in order to be effective. Apply two coats of primer before repainting with your light color if you’re converting a darkly painted wall to a light wall.
How Many Coats of Primer Are Needed?
The answer to the question “Does the primer need to appear streaky?” also lies in the number of coats applied.
The streaky appearance is typically caused by using fewer coats than necessary. Before applying primer, it is important to carefully assess the state of the surface.
Two or more coats are required for adequate coverage on old walls with dark paint or stains. One coat is more than enough for freshly painted stainless steel walls.
Always apply a fresh coat if the initial coat doesn’t look as expected or has noticeable lines.
Ensure that your top coat is sufficiently durable to bind the paint to itself.
How Long Should You Wait Between Primer Coats?
Prior to priming and painting over it, give your primer at least 24 hours to fully cure. It doesn’t matter if you are adding a colored paint coat or a second coat of primer; this rule still holds true. For the primer to adhere to the wall surface and create the best surface for the subsequent coat of paint to adhere to, it needs to cure for 24 hours.
- Between coats of primer, wait 24 hours.
- To cure and create the best surface for fresh paint, primer needs 24 hours.
- It will peel, bubble, and deteriorate paint if you paint over primer too soon.
Do not apply a second coat of primer until the full 24 hours have passed, even if your primer feels dry to the touch. Overpainting with paint too soon causes paint to bubble and peel. The most durable paint job can be achieved by waiting a full 24 hours before adding that fresh coat of paint.
How Long Does Primer Take to Dry Out?
A primer typically needs a day to adhere to the surface before painting. The project’s appearance will improve as a result, and it will also last longer.
24 hours are necessary for a primer to settle, otherwise, the paint will peel off, blotch, and degenerate with time.
Patience is required, despite the dry appearance that touching can produce. For a primer to be cured, at least 24 hours must pass.
How Do You Know Your House Needs Two Coats of Primer?
Even if the first coat is peeling, the surface doesn’t appear smooth after drying. You can see that there are still some areas that the first coat of paint did not completely cover. Usually, these are surfaces that are darker in darkened spaces.
Additionally, if you applied the primer in an extremely humid environment, you should do so again because the humidity in the air will make it easy to smudge off. It’s crucial to apply two coats if you’re also renovating an older home to make sure the walls are smooth and more stable for the new paint color.
Is Primer Supposed to Be See Through?
Although it’s acceptable to see faint traces of the previous color through primer, it shouldn’t look streaky or uneven. In order to set yourself up for success with primer:
- Make use of a premium primer.
- Apply primer to walls and ceilings with a ⅜” nap roller.
- Primer should be evenly applied, without streaks, and there shouldn’t be any discernible roller marks.
- New walls, stained walls, and dark-painted surfaces should all receive two coats of primer.
- Between coats of primer, allow 24 hours.
You can get even primer coverage by adhering to these guidelines. The finished product will have stunning walls that conceal any previous paint colors and an amazing paint job.
Which One to Use to Apply Primer: Brush Or Roller?
Depending on the paint you applied, this. On some matte paints, roller lines might not dry evenly, but if you’re using a flat or eggshell finish, brush strokes will disappear after rolling it with a roller. Also keep in mind that a sloppy application of the brush can result in streaky primer.
Use a brush to make cuts in the wall and a roller to cover the exposed areas. And if your brush and roller do come together, be sure to blend them so they don’t resemble two different paint colors. Without blending them, your wall will have a clear distinction between brush and roller lines.
Utilizing both at once is the best way to prevent this. Using a small foam brush, paint the necessary areas, and then immediately cover them with your roller. This stops the paint from drying before you can cover the entire section.
Conclusion
When painting anything to suit one’s needs, priming is a crucial step. But frequently visible lines, unevenness, and cracks can be seen after primer application.
The question “is the primer supposed to be streaky” quickly pops into the mind and confusion is faced.
No, that’s not the answer to this. To apply a uniform layer of primer to the surface, quality primer and a roller and brush combination are required.
The primer needs to dry properly. Giving the surface a second coat of primer is always a good idea because a streaky appearance calls for fewer coats.
It is imperative that you follow all the instructions and steps for applying primer.
An effective primer application results in an effective painting job, which results in a project that lives up to expectations.


